If you’re anything like me you like a little change here and there, especially if it’s something fun to spruce up your home. Every once in a while I get the urge to switch things up and for whatever reason, there’s nothing like the pressure of company coming to light the fire of urgency! We had family come stay for a few weeks to celebrate Calvin’s 1st birthday and I wanted to have these two projects done before then – which I did!
I’ve had my Kitchen-Aid mixer for almost 4 years but I honestly haven’t used it that much. Until I found this recipe for Chocolate Chocolate Chip Cookies it really just looked impressive on my kitchen counter. Since the recipe calls for cold butter and several minutes of mixing I decided to break out the Kitchen-Aid and put it to good use. Ever since then I probably use it once a week!
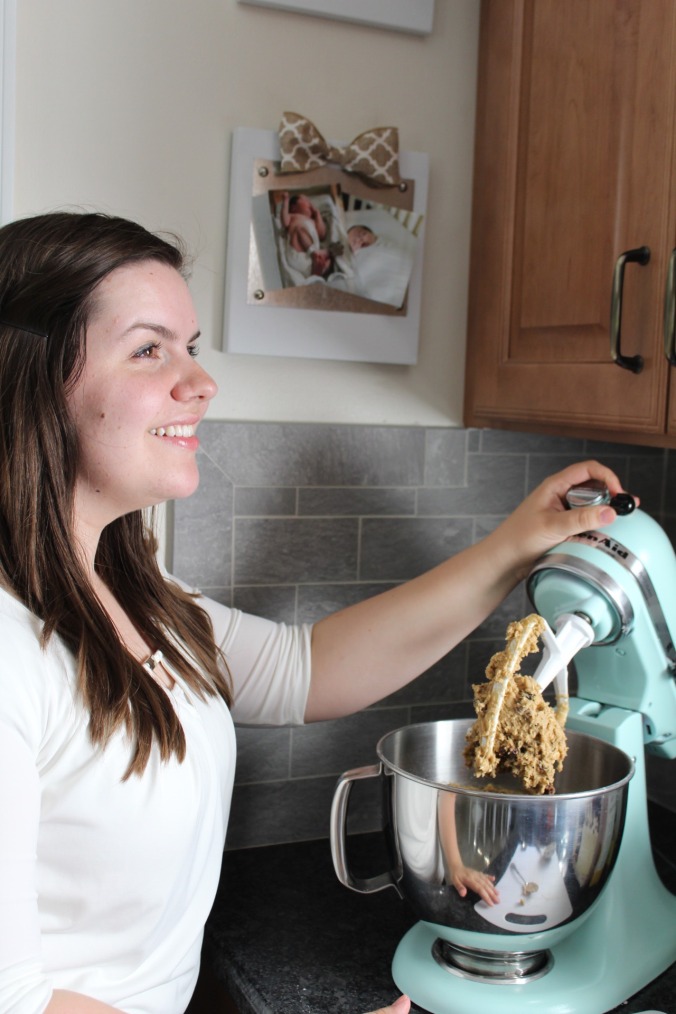
A couple of months ago I noticed the new line of colors Kitchen-Aid came out with and just about died over the Ice Blue color but when you have a perfectly functioning mixer you can’t drop $430 on a new one just because it’s pretty.
Or so my head told me 🙂
Mr. Layland, being the helpful genius that he is, found this Apartment Therapy tutorial on painting a Kitchen-Aid and I was sold! It’s really quite easy, and so much cheaper than buying a new mixer, so if you’re interested I’d say go for it! I used Ocean Mist spray paint from Home Depot and LOVE how it turned out! You have to take the gloss coat off the original color – mine was red – which really wasn’t bad so don’t let that stop you. After that, it’s just a matter of taking off as many metal parts as you can and covering those you can’t before painting. If you give it a try, let me know how it goes!
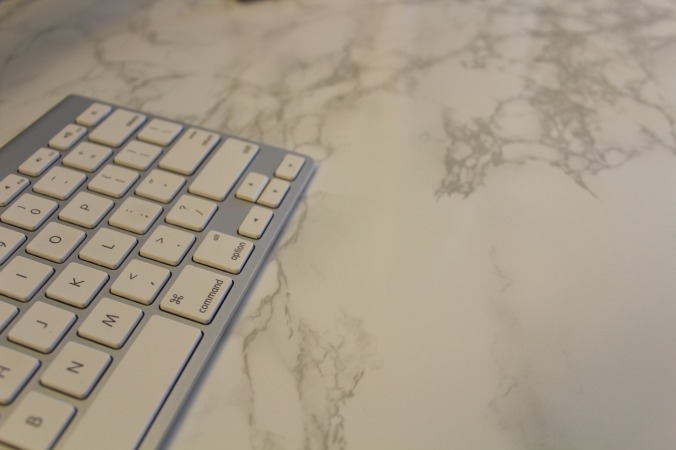
The second project was to freshen up my workspace. A little while ago we decided to get rid of our TV which freed up some space in our living room so I brought my desk out to give myself a little more space while I work. That’s when I realized my $20 Walmart desk I’d had for a few years didn’t add much to the look of the living room. I contemplated a few methods and (after a fight with Mr. Layland in Home Depot about fabric and epoxy) eventually landed on the idea of using faux marble contact paper.
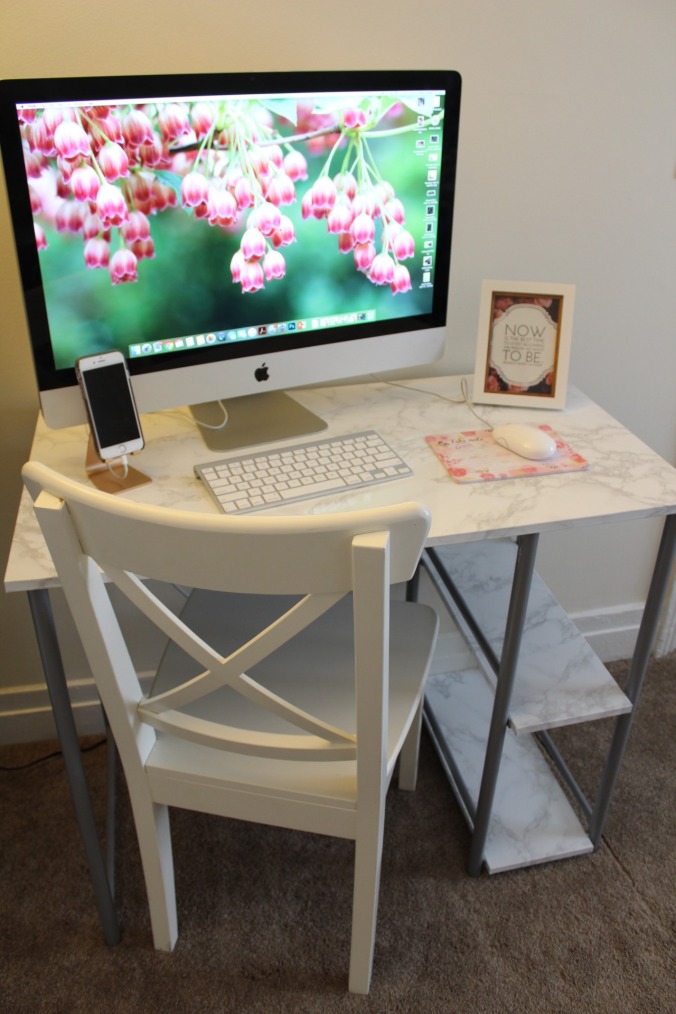
I ordered a 6ft roll on Amazon and thanks to 2-day shipping I was able to get it done the night before company arrived! And I LOVE it! It’s a glossy plastic-like paper so it was stiffer than I was expecting but it makes it much more durable. The desk was black so switching things up for a white marble really brightened up the entire living room and gave my workspace a much needed makeover.
I ordered the computer back in the fall through the surplus warehouse at BYU-Idaho which sells the school’s computers after they’ve been used for three years. Starting price is $400 — which for a gently used iMac, is amazing! This one came from Spori 114 where I used to work on the school paper! So that was a sweet bit of nostalgia.
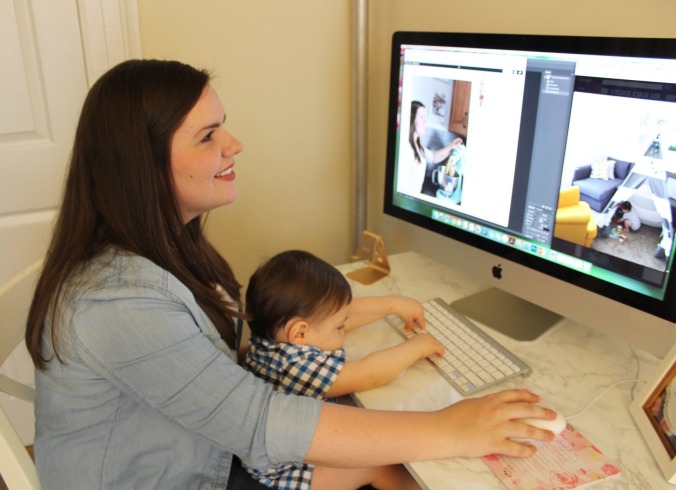
As you can see, it’s amazing I ever get anything done!
We swapped out the black HP keyboard it came with for a new Apple keyboard and I decided it was time to part ways with the chair I reupholstered back in Arizona. The white one I’m using now is one of our kitchen chairs that doesn’t fit around our table with Calvin’s high chair.
So there you have it! A little painting here, a little contact paper there and voila!
That’s life with Mr. Layland & Me!
